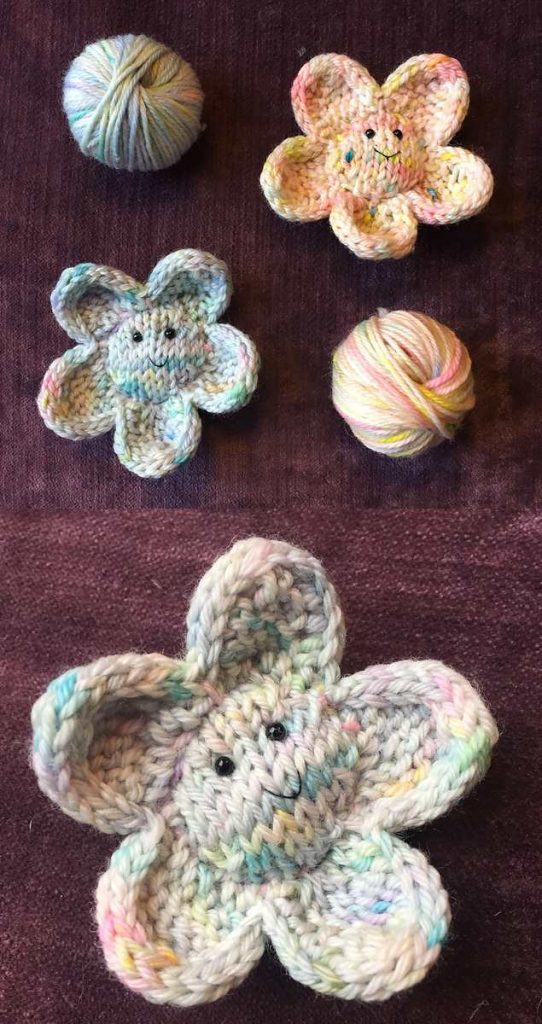
Smiley Flower Free Knitting Pattern. Designed by Sue Stratford.
Skill Level: Easy
“This little flower pattern was designed in support of the charity ‘A Place to be’, who are the chosen charity of Unravel Festival in Farnham this year.
Donate a knitted or crocheted flower and see them displayed at the show!
This flower is knitted flat using an applied i-cord for the edge of the petals. Everything is explained in the pattern and if you have never worked an applied i-cord, don’t worry, follow the instructions and it will work!”
Abbreviations:
- P Purl
- P2tog Purl two stitches together
- P2togtbl Purl two stitches together, through the backs of the loops
- sl slip a stitch (purlwise)
- SS Stocking Stitch
- ssK slip two stitches knitwise one at a time,pass the two slipped stitches back to the
left hand needle, knit both stitches together through the back of the loop - st(s) stitch(es)
- wyif with yarn in front (towards you)
- K Knit
- K2tog Knit two stitches together
- Kfb Knit into the front and back of the stitch,
- making 1 extra stitch
- M1 Make 1 stitch (see techniques)
Materials:
- Small amount of Double Knitting yarn (I used Skein Queen ‘Crush DK’)
- Toy filling
- Two small black beads
- Black sewing cotton
- Needles: These flowers can be knitted using any yarn, here is a guide
- of which size of needle to use, depending on the yarn you choose:
- 4-ply yarn – 2.75mm (UK12, US2) knitting needles
- DK yarn – 3mm (UK11, US2 or 3) knitting needles
- Aran yarn – 3.75mm (UK9, US5) knitting needles
- Chunky yarn – 5mm (UK6, US8) knitting needles
- Notions:
- Darning needle
- Fine sewing needle
- Pins
Techniques:
Make one stitch (M1):
Work to the point where you want to make a stitch. With
your right hand needle, pick up the ‘bar’ of yarn between
the stitches on your left and right hand needles. If on a knit
row, knit the stitch through the back of the loop. If on a purl
row, purl the stitch through the back of the loop. This
tightens the stitch and makes it neater.
Notes:
The edges of the petals are worked as an applied i-cord.
This is really easy to do, just follow the insructions and it will
work, I promise!
Petals
Using your chosen size of knitting needles, cast on 4 sts and knit 1 row.
Work as follows:
- Next row: Kfb, sl3 wyif, turn. (5 sts)
- Knit 1 row.
- Next row: Kfb, K to last 3 sts, sl3 wyif, turn. (6 sts)
- Knit 1 row.
- Repeat the last two rows twice more. (8 sts)
- Next row: Kfb, K to last 3 sts, sl3 wyif, turn. (9 sts)
Now shape the petal tip:
- Next row: K4, turn.
- Next row: Sl4 wyif, turn.
- Next row: K5, turn.
- Next row: Sl1, K1, sl3 wyif, turn.
- Next row: K6, turn.
- Next row: Sl1, K2, sl3 wyif, turn. (9 sts)
- Next row: K2, K2tog, slip sts back onto left-hand needle. (8 sts)
- Repeat last row five more times. (3 sts)
Slip sts back onto left-hand needle.
- Next row: K2, Kfb. (4 sts)
Repeat instructions from * to * three more times. Then work from * to ** once more — making a total of five petals.
Finish:
Thread yarn through remaining 3 sts and fasten off, leaving a length for sewing up.
Centre
Using your chosen size of knitting needles, cast on 8 sts.
- Next row: (K2, Kfb) twice, K2. (10 sts)
- Next row: P2, M1, P1, M1, P4, M1, P1, M1, P2. (14 sts)
- Next row: K3, M1, K1, M1, K6, M1, K1, M1, K3. (18 sts)
- Next row: P4, M1, P1, M1, P8, M1, P1, M1, P4. (22 sts)
- Starting with a knit row, work 2 rows in stockinette stitch (SS).
- Next row: K3, ssk, K2tog, K8, ssk, K2tog, K3. (18 sts)
- Next row: P2, P2tog, P2togtbl, P6, P2tog, P2togtbl, P2. (14 sts)
- Next row: K1, ssk, K2tog, K4, ssk, K2tog, K1. (10 sts)
- Next row: (P2, P2tog) twice, P2. (8 sts)
Cast off remaining sts, leaving a yarn tail for sewing.
Making Up
- Take the flower center and start sewing the long seam from the cast-off edge — this becomes the back seam of the flower.
- Sew the cast-on edges together from side to side so the back seam sits in the center.
- Lightly stuff the center with toy filling.
- Sew the cast-off edges closed.
- Using a darning needle and yarn, thread through the purl “bumps” along the inside edge of the petals.
- Gather slightly and pin the petals evenly around the center.
- Sew each petal securely in place.
- For the finishing touch, sew on beads for eyes and embroider a small smile — or create French knots using embroidery thread or black yarn.
🌼 Tips
- Try metallic or gradient yarn for a more dimensional flower.
- Mix and match petal and center colors for a bold, fun effect.
- Perfect for attaching to hats, headbands, or as a brooch.
Leave a Reply