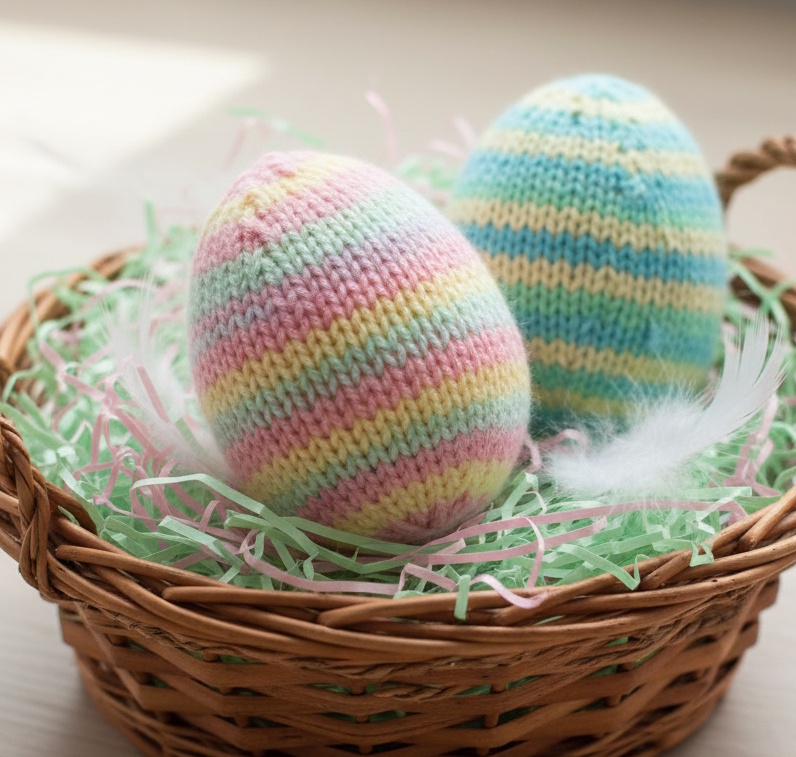
This small knitted egg is a perfect project for using up scraps of yarn. It works up quickly and can be made with any yarn weight and needle size. Stuff it with wool roving, batting, or yarn scraps for a cute decoration or gift.
Gauge:
Not critical. Use any yarn and double-pointed needles (DPNs) you like. The sample shown uses worsted weight yarn and size 8 DPNs.
Materials:
- Worsted weight yarn (or your choice)
- Double-pointed needles (size appropriate for your yarn)
- Tapestry needle
- Stuffing (wool roving, batting, polyfill, yarn scraps)
Instructions
Cast-On
- Cast on 9 stitches.
- Divide stitches evenly over 3 double-pointed needles (DPNs).
- Begin knitting in the round. Optional: mark the beginning of the round.
Tip: Keep stitches untwisted as with any circular knitting. You can glance at your cast-on tail to know where the round begins.
Shaping the Egg
Round 1: Knit all stitches.
Round 2:
- Knit 1, increase 2 (paired lifted increases), knit to end of needle.
- Repeat on all three needles.
Repeat Rounds 1 and 2 until each needle has 9 stitches.
Body Expansion
- Knit all stitches.
- Knit 1 stitch, increase 1 stitch, knit to end of needle.
- Repeat on all three needles (10 stitches per needle).
Stockinette Section: Knit all stitches for 6 rounds.
Decreasing for the Top
Decrease Round 1:
- SSK, K1, K2tog, knit to end of needle.
- Repeat on all needles.
Rounds 2–3: Knit all stitches.
Repeat these 3 rounds until 4 stitches remain per needle.
Final Decrease:
- SSK, K2tog on all needles.
Finishing
- Cut yarn, leaving a tail. Thread the tail through remaining live stitches and leave loose for stuffing.
- Stuff the egg with your choice of filling: wool roving, batting, polyfill, or leftover yarn ends.
- Using your tapestry needle, thread the cast-on tail around the bottom stitches and cinch closed.
Tips:
- This pattern is versatile; feel free to adjust yarn and needle size for larger or smaller eggs.
- Using leftover yarn for stuffing is a great way to reduce waste.
NOTES FOR THIS PATTERN
- Shaping:
- The increases on the bottom and the decreases on the top are gradual and symmetrical, so it will produce a nicely rounded egg shape.
- Using paired lifted increases and standard decreases like SSK and K2tog ensures the fabric stays neat.
- Stockinette section:
- Knitting all stitches in the round for 6 rows will create the middle “body” of the egg. You can adjust this number of rows if you want a taller or shorter egg.
- Stuffing and finishing:
- Leaving the live stitches open for stuffing and cinching the bottom with the cast-on tail is standard. It will hold the stuffing securely.
- Flexibility:
- Since it’s worked in the round, any yarn weight and needle size can be used. The size of the egg will scale depending on what you choose.
Potential tweaks:
- If the egg seems too pointy at the top, add an extra round or two of decreases with smaller increments.
- If the bottom is too small, you can add more increase rounds before starting the stockinette section.
Leave a Reply