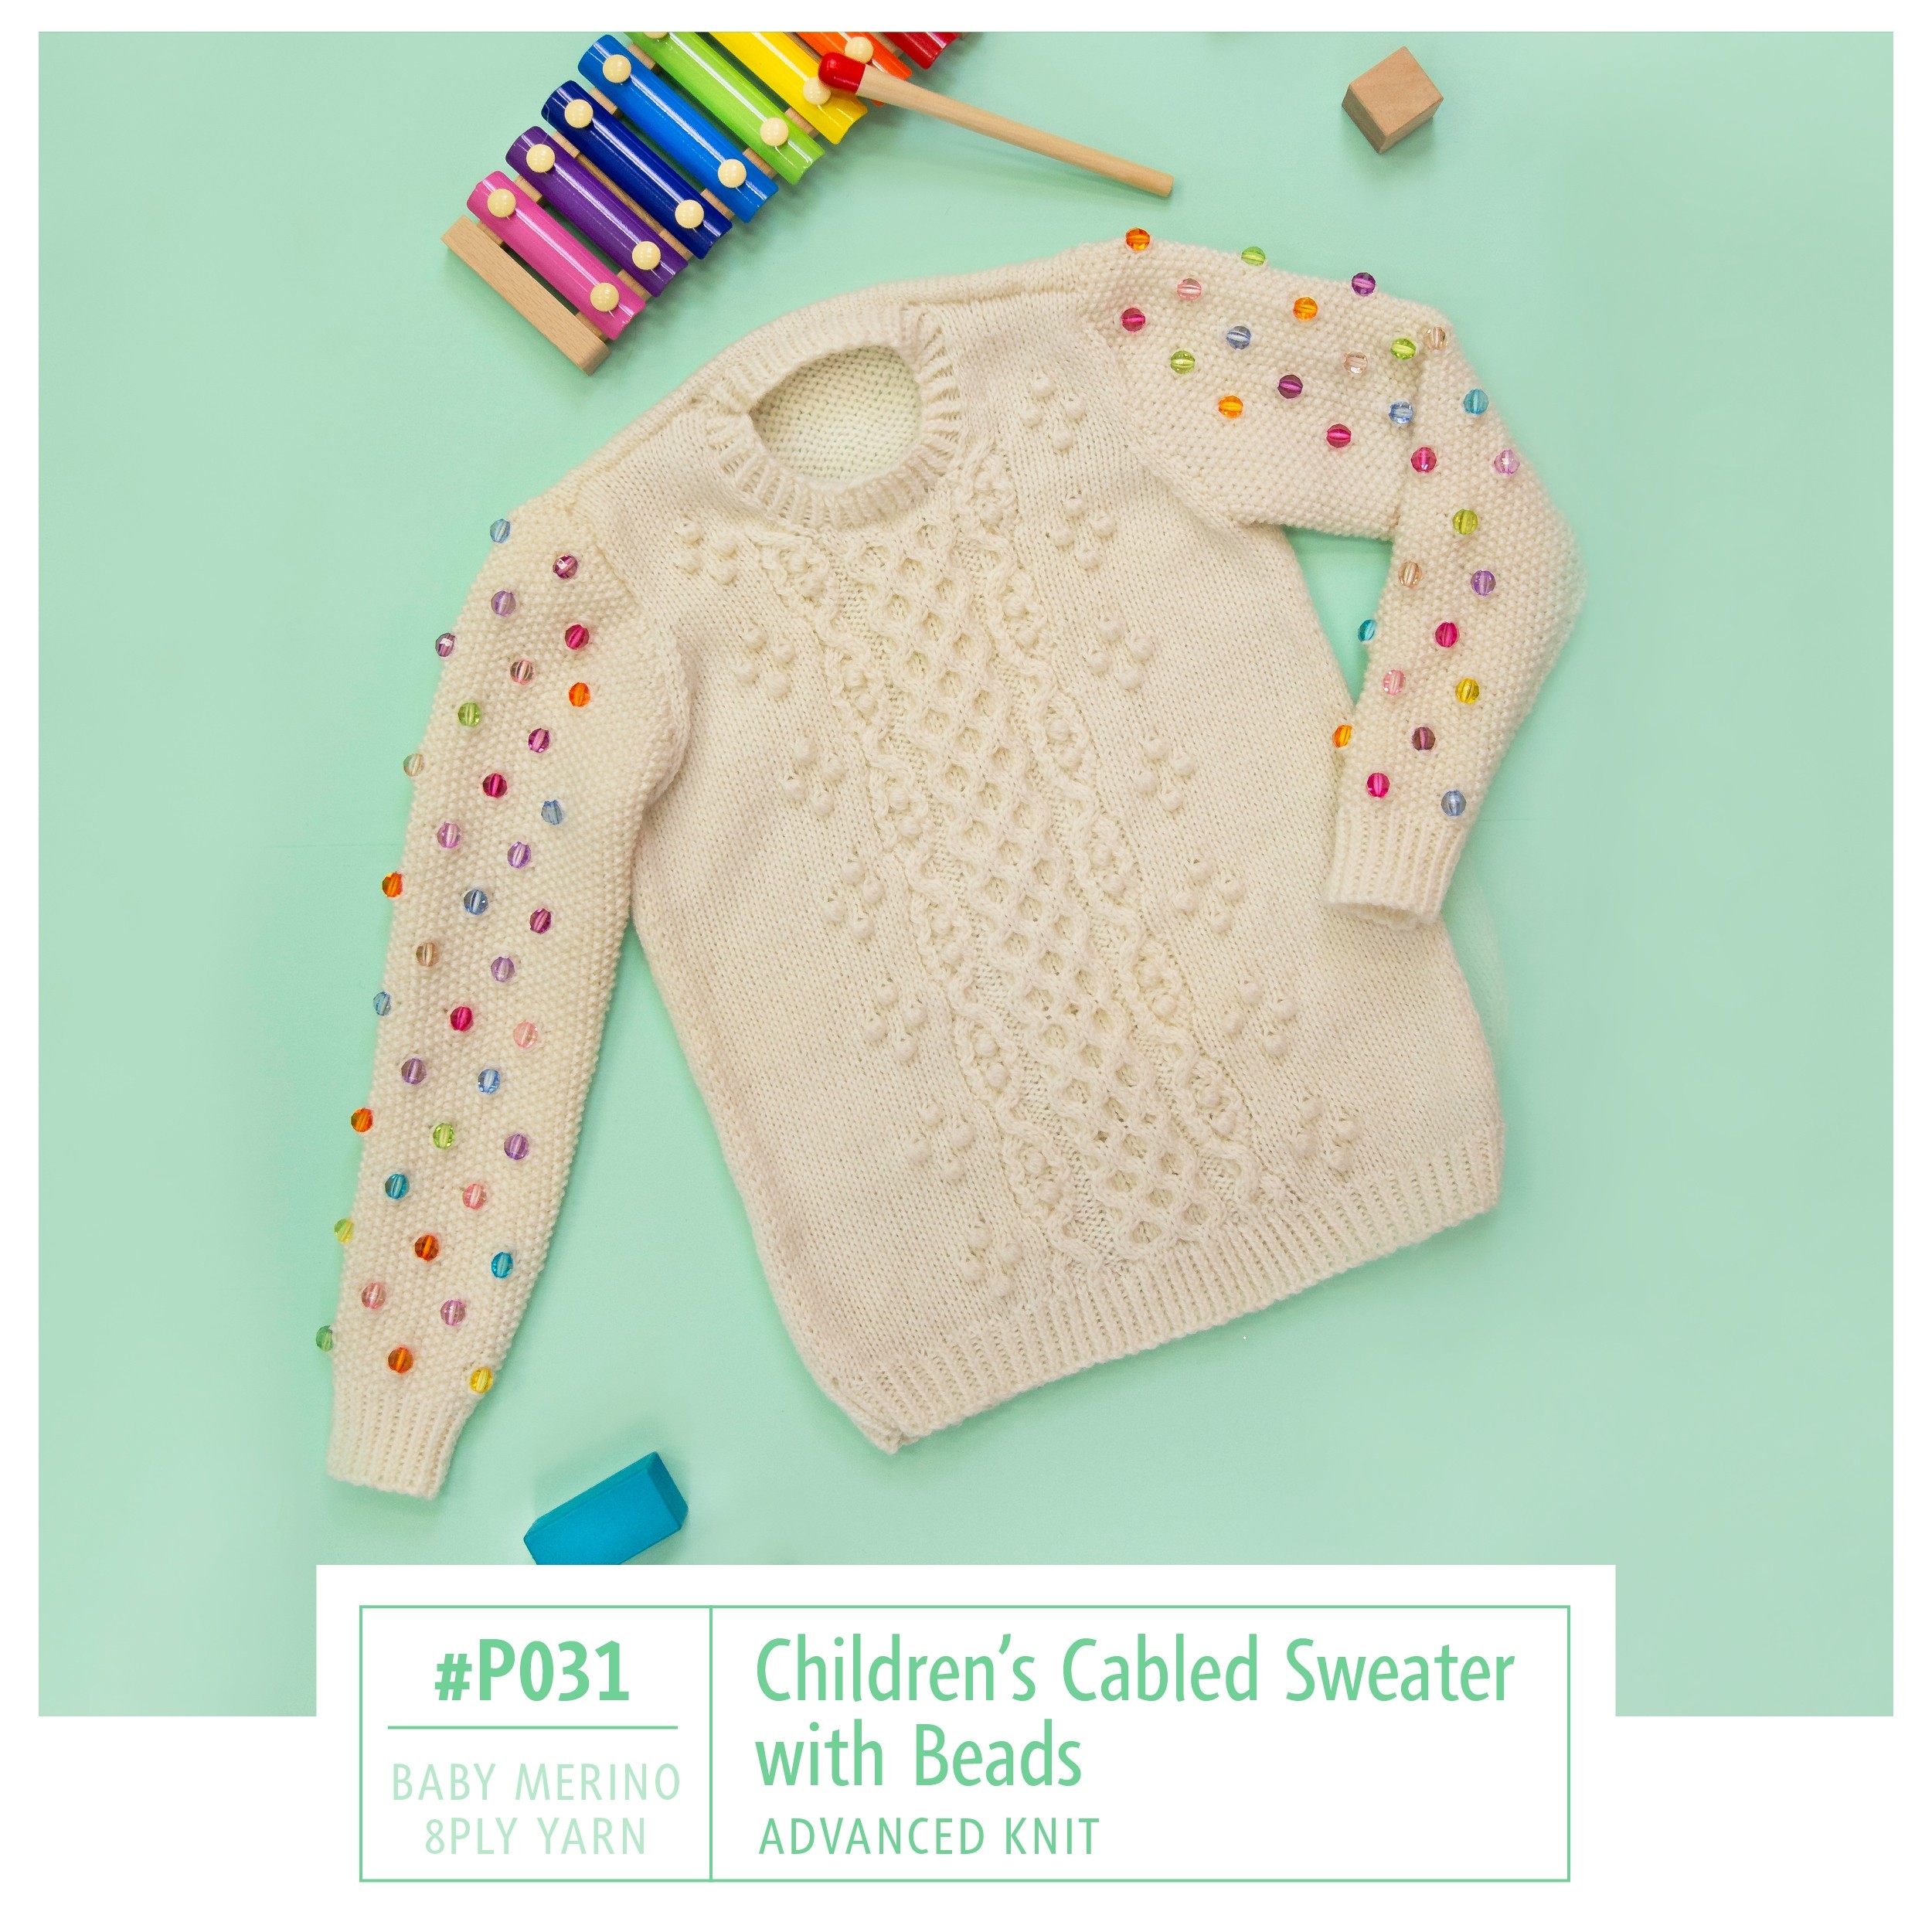
This advanced pattern offers a modern take on the classic Aran sweater, incorporating seed stitch panels with integrated beads and complex cable patterns. The sweater features a crew neck, set-in sleeves, and twisted rib hems. The design is knitted in a luxurious baby merino yarn.
This complex design features cables, bobbles, and beading.
This pattern is rated as Advanced Knit. It involves a variety of techniques, including:
- Complex Cable Patterns: Multiple cable stitches (1/1 RC, 1/1 LC, 2/1 RPC, 2/1 LPC, 2/2 RC, 2/2 LC, 2/3 RC, 2/3 LC, 2/1/2 RPC, 2/1/2 LPC) are used, requiring careful attention to the charts and written instructions.
- Seed Stitch with Beads: Beads are incorporated into the seed stitch panels on the sleeves, requiring the use of a small crochet hook.
- Bobbles: The pattern includes instructions for creating bobbles using a crochet hook.
- Shaping: The pattern includes shaping for armholes, shoulders, and the front neck.
- Twisted Rib: The hems are worked in a twisted rib pattern.
- Picking Up Stitches: Stitches are picked up for the neckband.
- Seaming: The sweater requires seaming of the shoulders, sleeves, and sides.
You’ll need, Baby Merino 8ply yarn, 4.00mm circular knitting needles,80cm, a pair of 4.00mm knitting needles, a wool needle, stitch holders, a 1.25 mm or 1.50 mm crochet hook, 4.00mm crochet hook, and beads.
Skill Level: Advanced (Complex cables, beading, bobbles, shaping, picking up stitches, seaming)
Measurements (Size: 5-6, 7-8, 9-10 years):
- To Fit Chest (cm): 65, 70, 75
- Garment Measures (approx. cm): 74, 79, 84
- Sleeve Length (approx. cm): 33, 38, 40
- Length (approx. cm): 58, 52, 53, Note lengths seem incorrect.
Materials Used:
- Beads (with a hole large enough for doubled yarn)
- Makr Baby Merino 8ply 50g balls: 8, 8, 12 balls
- 00mm circular knitting needles, 80cm.
- A pair of 4.00mm knitting needles.
- Wool needle for sewing in ends.
- Stitch Holders.
- 1.25 mm or 1.50 mm crochet hook (for beading)
- 4.00mm crochet hook (for bobbles)
See More Free Aran Knitting Patterns:
- 45+ free Aran sweater knitting patterns
- free aran knitting patterns
- sweater knitting patterns
- Men’s Aran Sweater Knitting Patterns
- Aran cardigan
Pattern Considerations:
- Tension (Gauge):
- Sleeve (Seed Stitch): 22 sts and 50 rows to 10cm, using 4.00mm needles.
- Body (Stocking Stitch): 22 sts and 30 rows to 10cm, using 4.00mm needles.
- Achieving the correct gauge is crucial for the finished size and fit of the sweater.
- Yarn Substitution If substituting, use 8 ply yarn.
- Cable Charts: The pattern includes detailed cable charts, as well as written instructions. Be sure to understand how to read the charts (RS rows right to left, WS rows left to right).
- Beading Technique: The pattern provides step-by-step instructions (with illustrations) for incorporating beads into the seed stitch. A small crochet hook is used to pull the yarn through the bead.
- Bobble Technique: Detailed instructions (with illustrations) are provided for creating the bobbles using a crochet hook.
- Front Neck Shaping: The front neck shaping involves short rows (wrap and turn) and decreases.
- Sleeve Increases: The sleeve increases are worked in conjunction with the beading pattern. Pay close attention to the instructions to maintain the correct placement of both the increases and the beads.
- Bobbles Detailed instrcutions are supplied.
Cable Abbreviations
Here are the cable stitch abbreviations and their meanings:
- 1/1 RC (Right Cross): sl 1 st onto cn (cable needle), hold to back, k1, k1 from cn.
- Explanation: Slip one stitch onto your cable needle and hold it at the back of your work. Knit the next stitch from your left-hand needle. Then, knit the stitch from the cable needle. This creates a small, right-leaning cable.
- 1/1 LC (Left Cross): sl 1 st onto cn, hold in front, k1, k1 from cn.
- Explanation: Slip one stitch onto your cable needle and hold it at the front of your work. Knit the next stitch from your left-hand needle. Then, knit the stitch from the cable needle. This creates a small, left-leaning cable.
- 2/1 RPC (Right Purl Cross): sl 1 st onto cn, hold in back, k2, p1 from cn.
- Explanation: Slip one stitch onto your cable needle and hold it at the back of your work. Knit the next two stitches from your left-hand needle. Then, purl the stitch from the cable needle.
- 2/1 LPC (Left Purl Cross): sl 2 sts onto cn, hold in front, p1, k2 from cn.
- Explanation: Slip two stitches onto your cable needle and hold it at the front of your work. Purl the next stitch from your left-hand needle. Then, knit the two stitches from the cable needle.
- 2/2 RC (Right Cross): sl 2 sts onto cn, hold in back, k2, k2 from cn.
- Explanation: Slip two stitches onto your cable needle and hold it at the back of your work. Knit the next two stitches from your left-hand needle. Then, knit the two stitches from the cable needle.
- 2/2 LC (Left Cross): sl 2 sts onto cn, hold in front, k2, k2 from cn.
- Explanation: Slip two stitches onto your cable needle and hold it at the front of your work. Knit the next two stitches from your left-hand needle. Then, knit the two stitches from the cable needle.
- 2/3 RC (Right Cross): sl 3 sts onto cn, hold in back, k2, k3 from cn.
- Explanation: Slip three stitches onto your cable needle and hold it at the back of your work. Knit the next two stitches from your left-hand needle. Then, knit the three stitches from the cable needle.
- 2/3 LC (Left Cross): sl 2 sts onto cn, hold in front, k3, k2 from cn.
- Explanation: Slip two stitches onto your cable needle and hold it at the front of your work. Knit the next three stitches from your left-hand needle. Then, knit the two stitches from the cable needle.
- 2/1/2 RPC (Right Purl Cross): sl 2 sts onto first cn and hold in back, sl 1 st onto 2nd cn and hold in back, k2, p1 from 2nd cn, k2 from first cn.
- Explanation: This is a more complex cable requiring two cable needles.
- Slip two stitches onto the first cable needle and hold it at the back of your work.
- Slip one stitch onto the second cable needle and also hold it at the back of your work (behind the first cable needle).
- Knit the next two stitches from your left-hand needle.
- Purl the stitch from the second cable needle.
- Knit the two stitches from the first cable needle.
- Explanation: This is a more complex cable requiring two cable needles.
- 2/1/2 LPC (Left Purl Cross): sl 2 sts onto first cn and hold in front, sl 1 st onto 2nd cn and hold in back, k2, p1 from 2nd cn, k2 from first cn.
- Explanation: This is the left-leaning counterpart of the 2/1/2 RPC, also using two cable needles.
- Slip two stitches onto the first cable needle and hold it at the front of your work.
- Slip one stitch onto the second cable needle and hold it at the back of your work.
- Knit the next two stitches from your left-hand needle.
- Purl the stitch from the second cable needle.
- Knit the two stitches from the first cable needle.
- Explanation: This is the left-leaning counterpart of the 2/1/2 RPC, also using two cable needles.
Key Reminders:
- “cn” means “cable needle.”
- “Hold in back” means to hold the cable needle behind your work, so the stitches on the cable needle are further away from you.
- “Hold in front” means to hold the cable needle in front of your work, so the stitches on the cable needle are closer to you.
- Always slip stitches to the cable needle purlwise unless otherwise specified.
- The numbers before the slash indicate how many stitches to work from the left-hand needle, and the number(s) after the slash indicate how many stitches to work from the cable needle(s), and in what order. The letters indicate K (knit) or P (purl).
Leave a Reply